DIY Chain Bracelets: No Solder Paperclip Chain!

Craft your own DIY chain bracelets using a simple wire wrapping technique to make a paperclip chain! Then, try something else from this list of DIY bracelets. This post contains affiliate links.
I originally decided to make myself a paperclip chain bracelet WITHOUT necessarily blogging a tutorial, but then on a whim picked up my phone and took process photos.
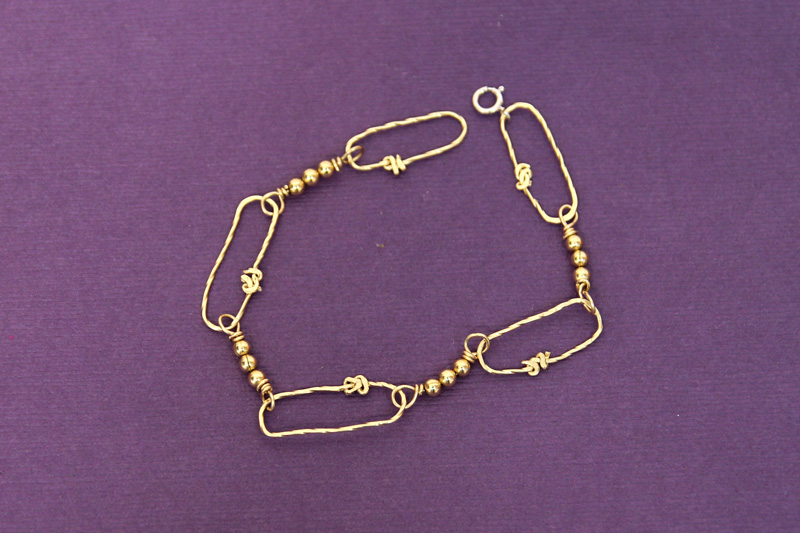
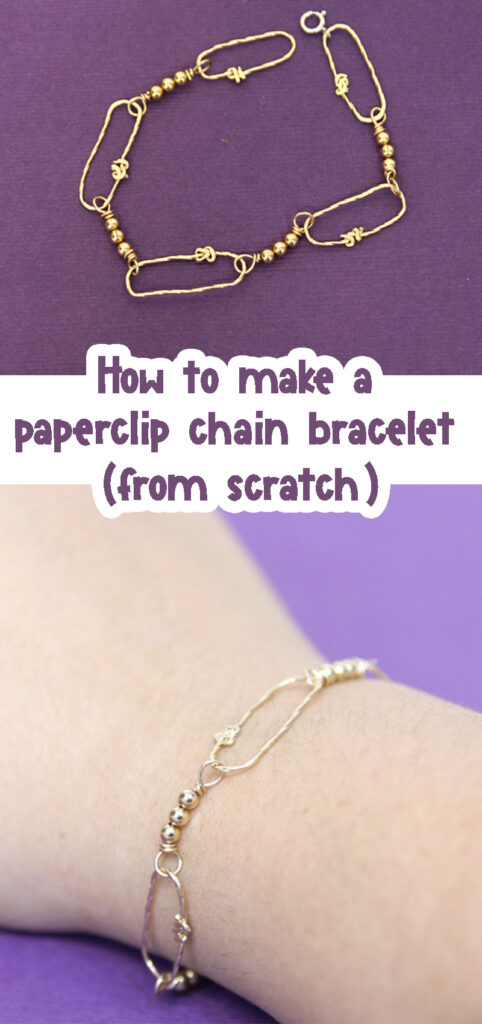
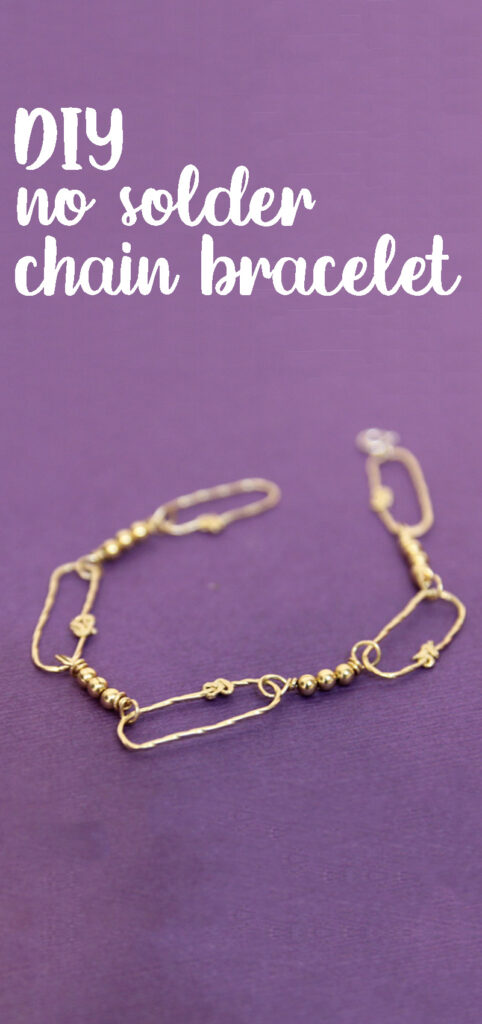
And of course, I followed up with images of the final craft. So here I am sharing how to make DIY chain bracelets using wire – rather than actual chain by the foot.
Disclosure: because of this, the images aren’t the greatest! I hope you’ll enjoy the tutorial regardless.
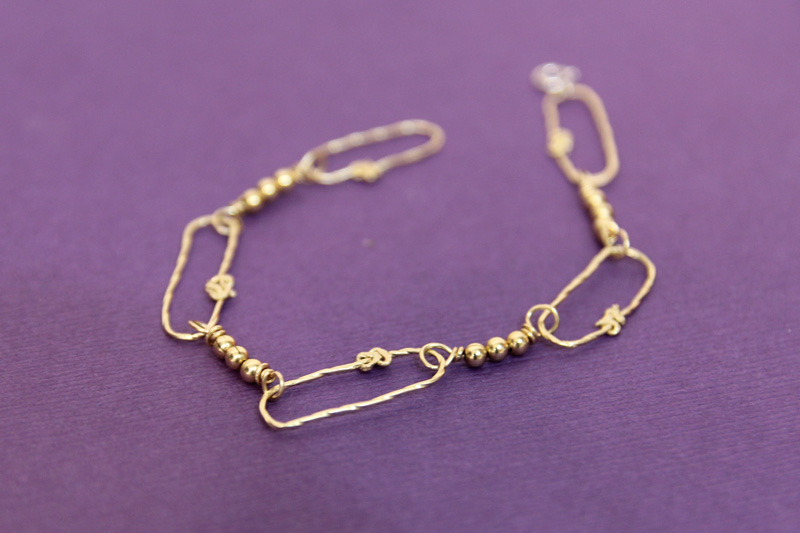
I used 20 gauge wire to make this. You can definitely go thicker, it’ll just be harder to work. It’ll also be sturdier. I don’t recommend using anything thicker than 16 gauge – even 18 is better – as twisting your links closed will be a challenge.
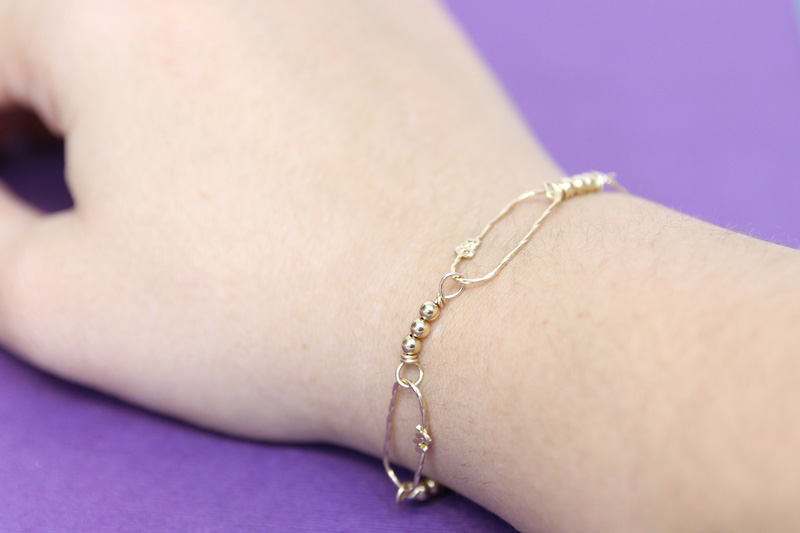
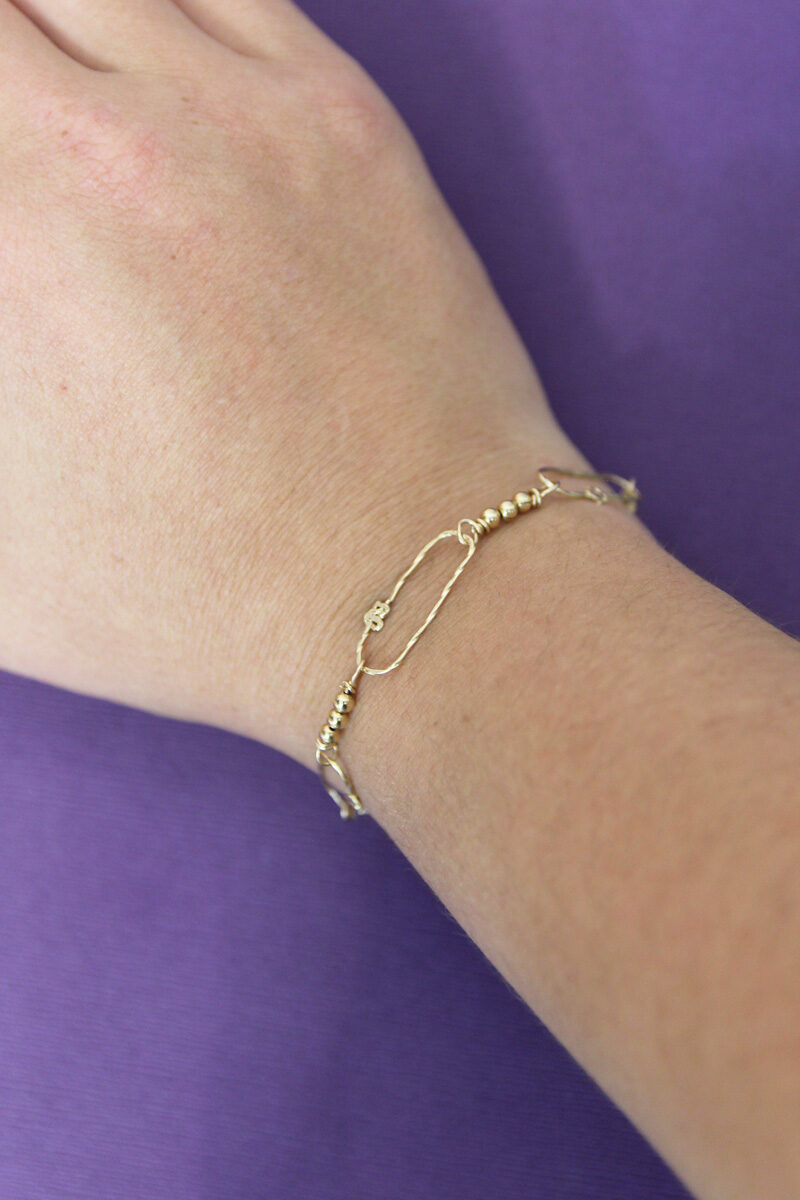
I used gold filled wire because I wanted a gold bracelet that I can shower in. You can also user copper or sterling.
I don’t recommend making wire wrapped designs with totally fake wire, as the metal is a major component of the bracelet. It won’t be worth all your hard work to have it look awful after one use!
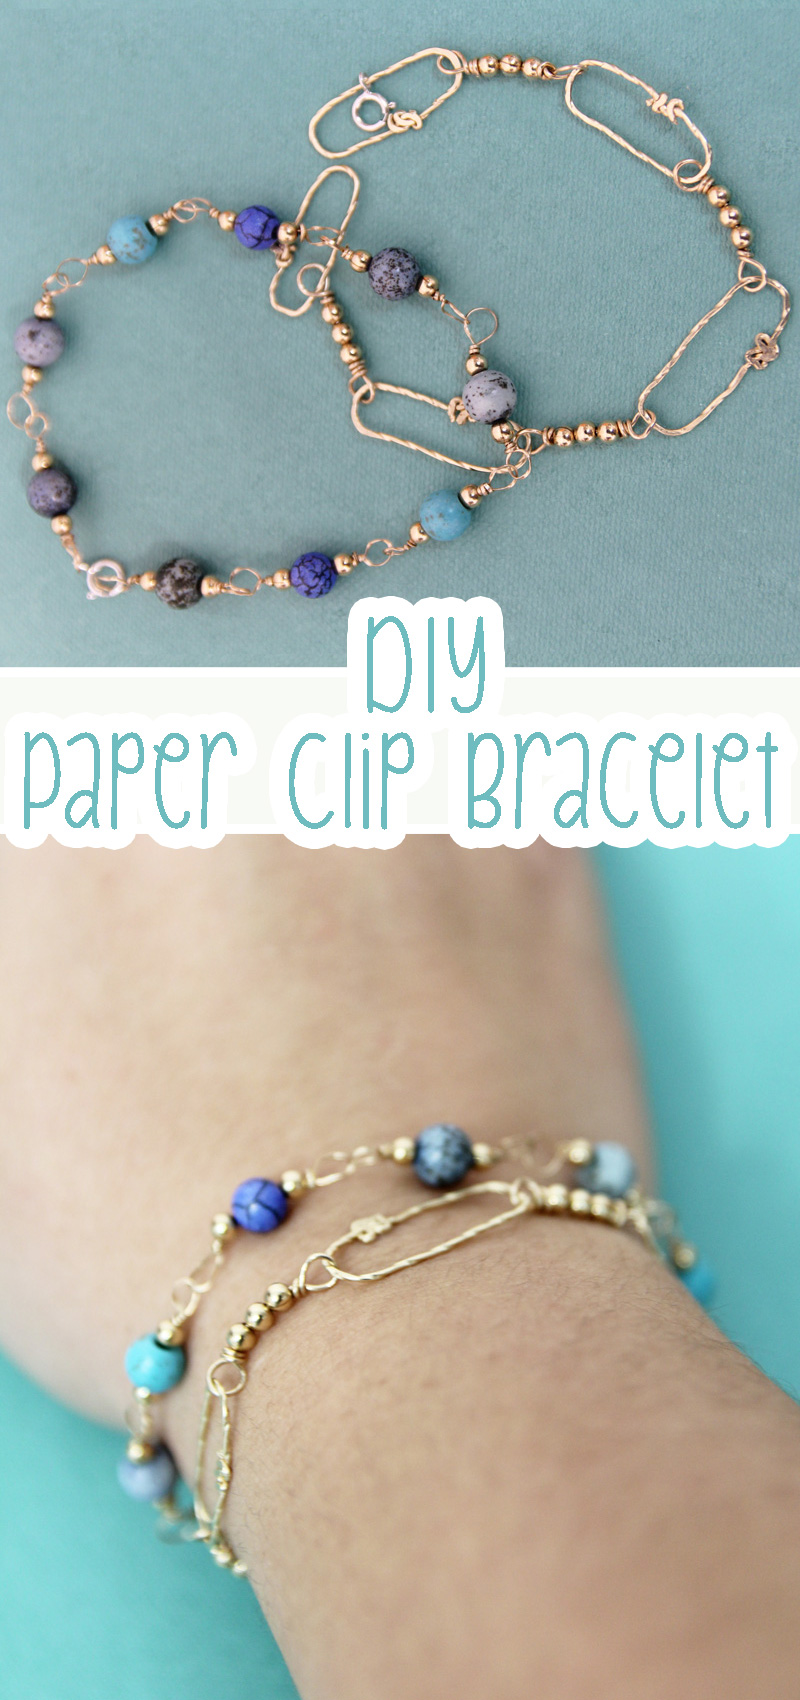
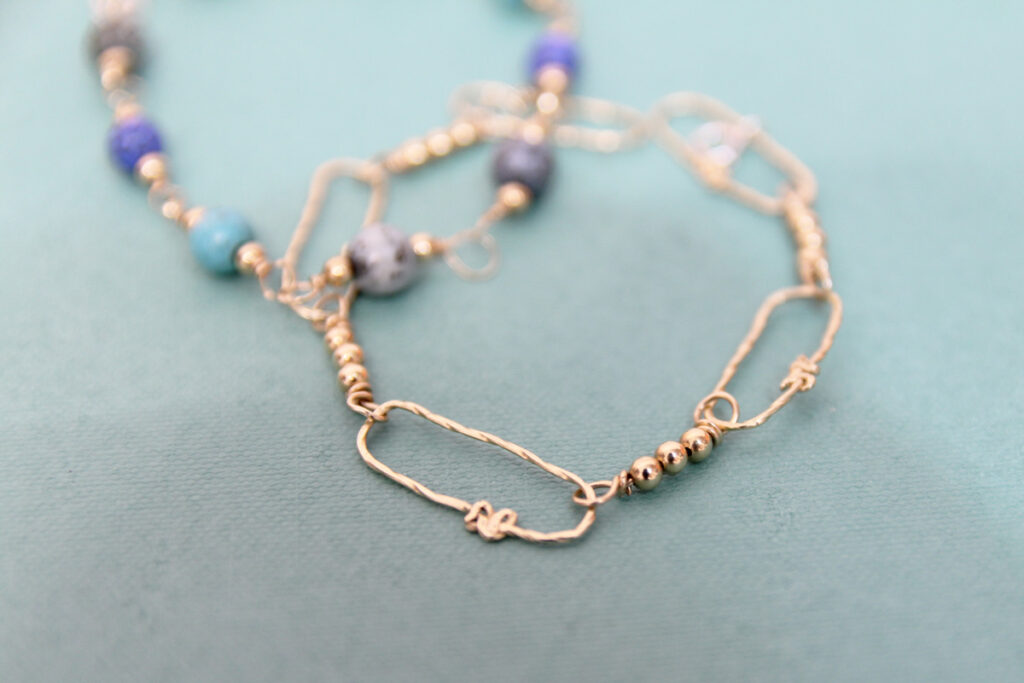
You can see that I also made a very simple beaded bracelet to go with it! This one is simply blue gemstones with gold filled round spacer beads. They are linked together on wrapped loops.
One of the things I love about paperclip chain bracelets is that they are so much fun to stack and wear every day! And DIY chain bracelets are no different.


To me, the only thing cooler than treating myself to a new piece of jewelry is treating myself to one that I designed. The feeling when I complete a piece that I love is just so accomplishing. You can try more things to make with beads and wire that’ll really make you smile.

When you’re done, give these DIY metal stick earrings a go! Or, try learning how to make hoop earrings with wire from scratch. Learn everything you need to know about making copper jewelry too.
What you need to make DIY chain bracelets
How to make a paperclip chain bracelet without soldering
1. First, take your pliers and curve over your wire about 3/4 – 1 inch. You basically want it to take the shape and form of a paperclip.
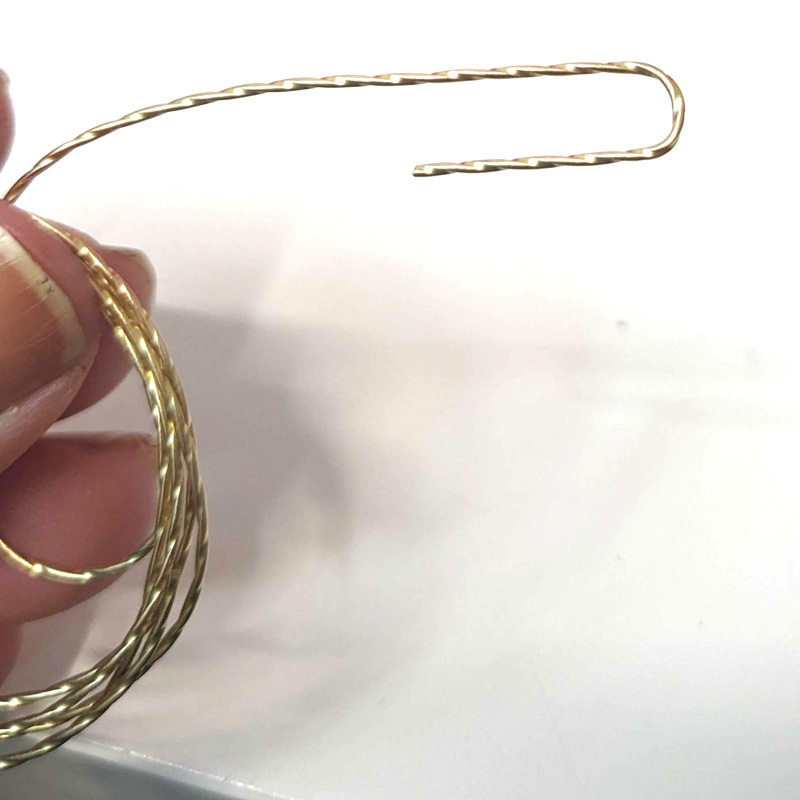
2. Bend it over again, so that your first bit aligns with the portion that’s still on the spool. You almost have a paperclip now.
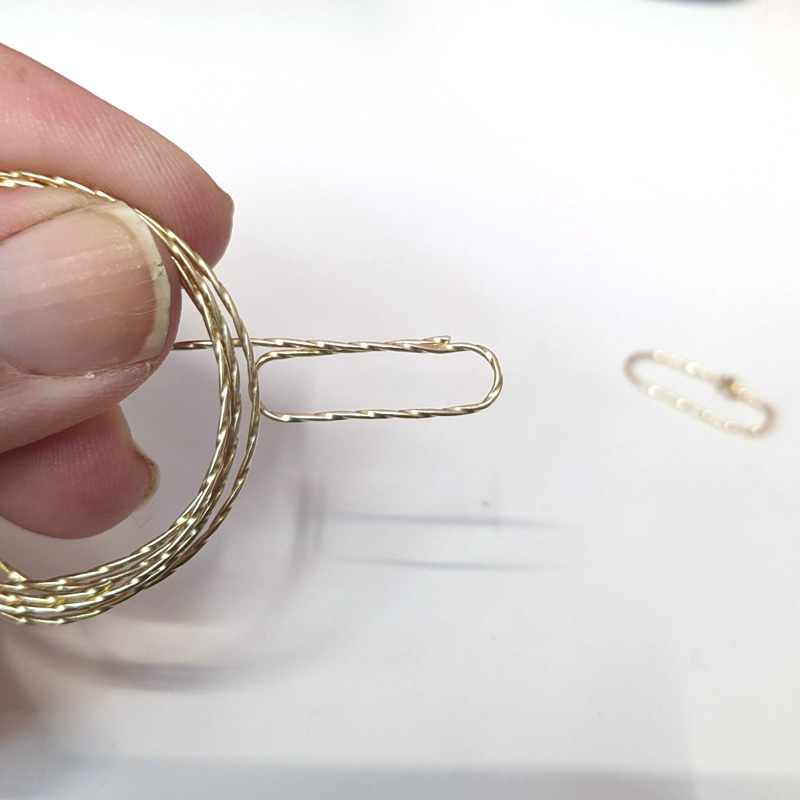
3. Trim it from the spool so that the loop overlaps for most of the length of one side.
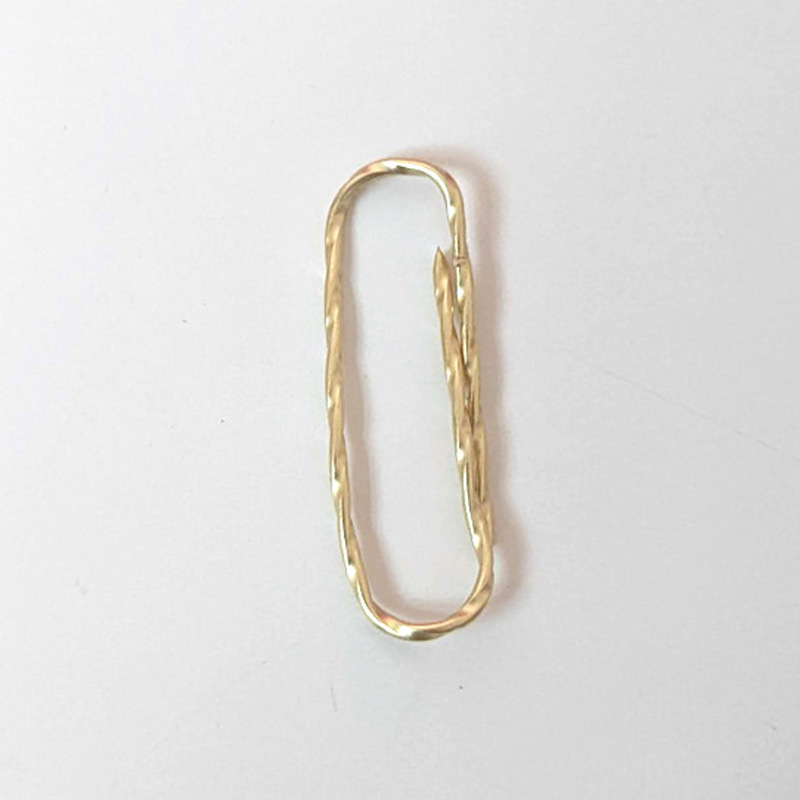
4. Using pliers, bend up the bit that overlaps about 1/3 of the way from the curved end. Try not to ruin the shape of your paperclip, but if you need to, don’t worry too much about it. You’ll reshape it later.
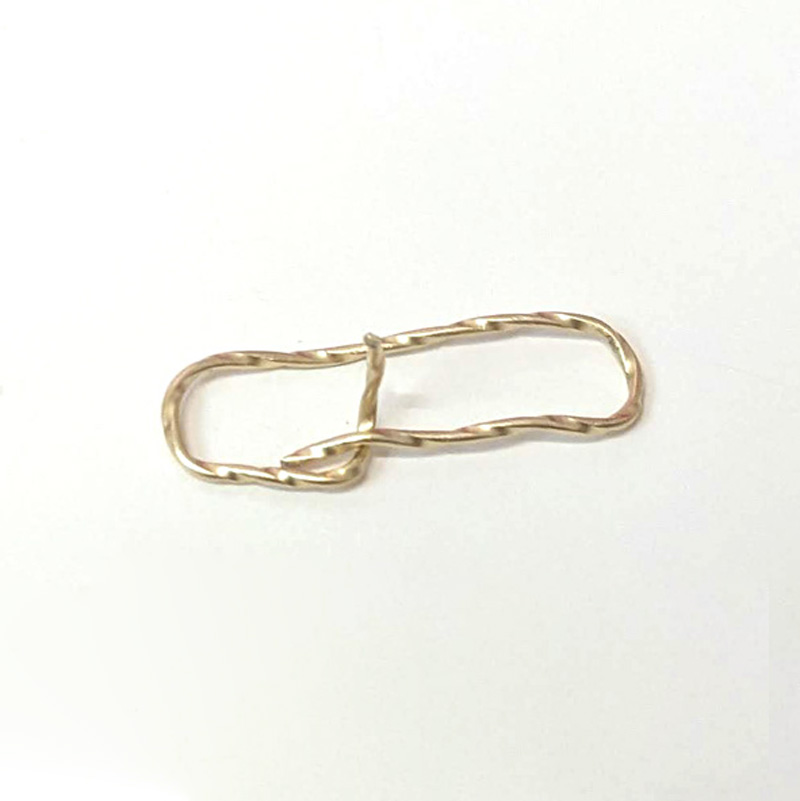
5. Twist it around the other portion with an open end. It’ll twist about two times.
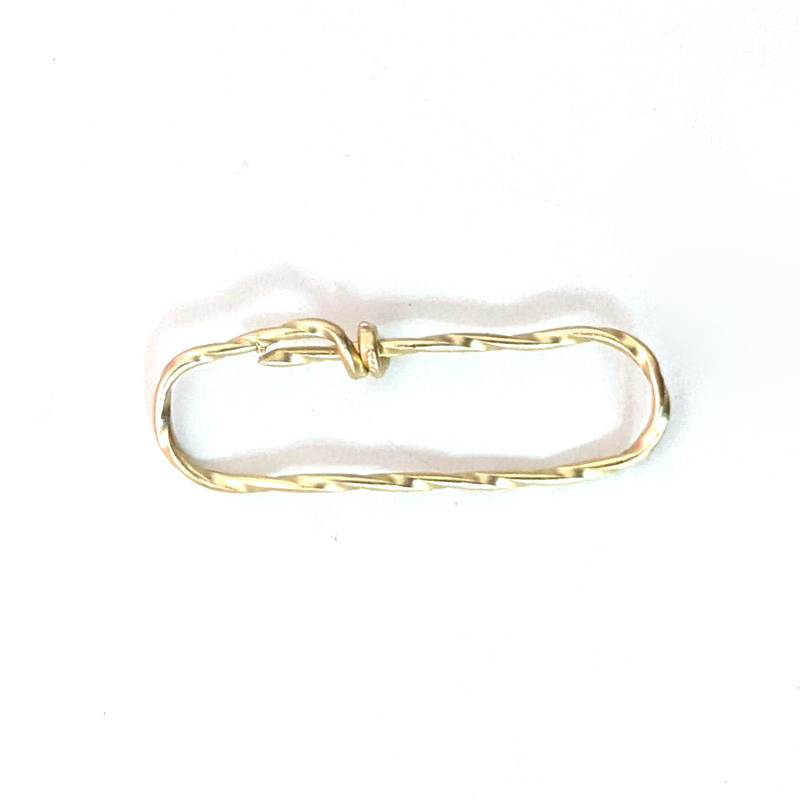
6. Then take the other end that’s still overlapping a bit. Twist it around the other side right next to where that one coils. This part is a bit trickier and finer work, but you’ll manage it just fine. Make sure your cut ends of wire aren’t poking out at all.
Do this for every link! My bracelet has five links.
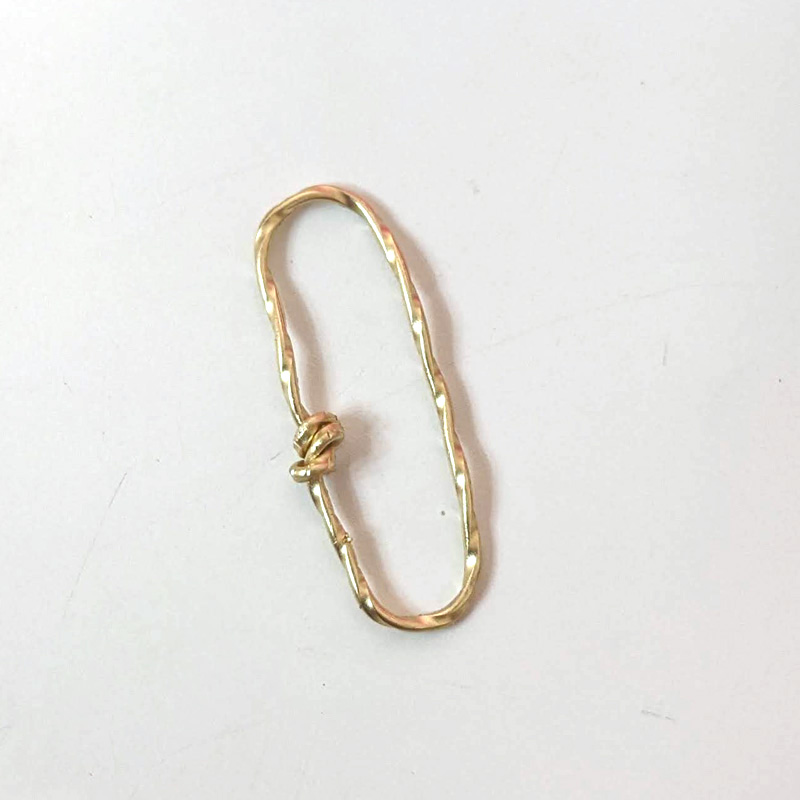
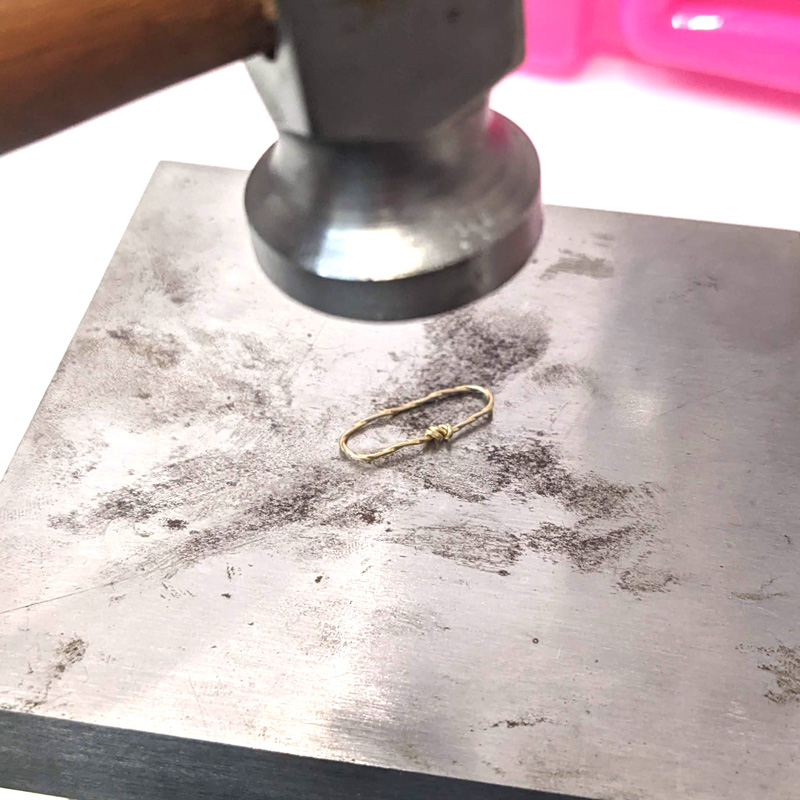
7. Take your single link to your bench block. Work harden it and secure it by gently tapping with your chasing hammer. to absorb the blows, you can place a sandbag below your bench block.
8. I connected my links using a simple wrapped beaded link. If you’re not doing it, you’ll want to attach the next link basically at the point that you have a paperclip (step 3).
To make wrapped loop links: Take a few inches of wire. Form a wrapped loop through the link.
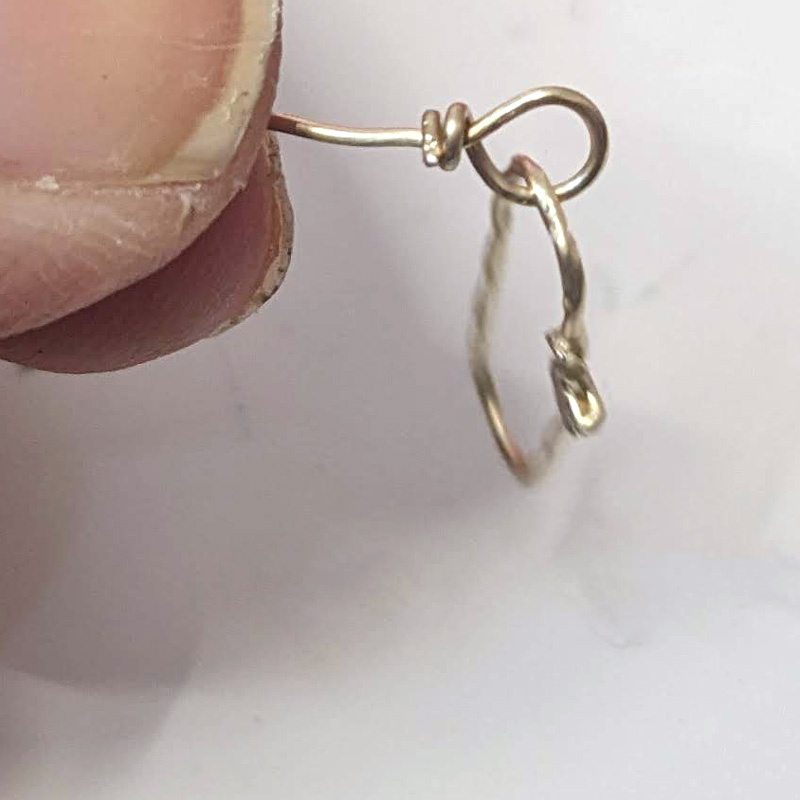
9. Slide on a few spacer beads.
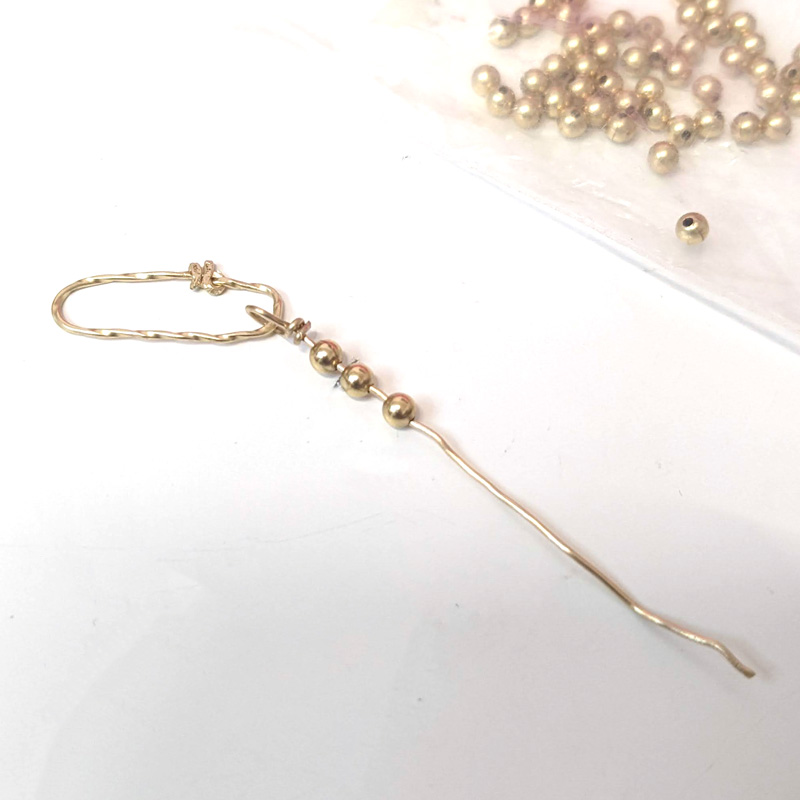
10. Form a second wrapped loop connecting it to your next link.
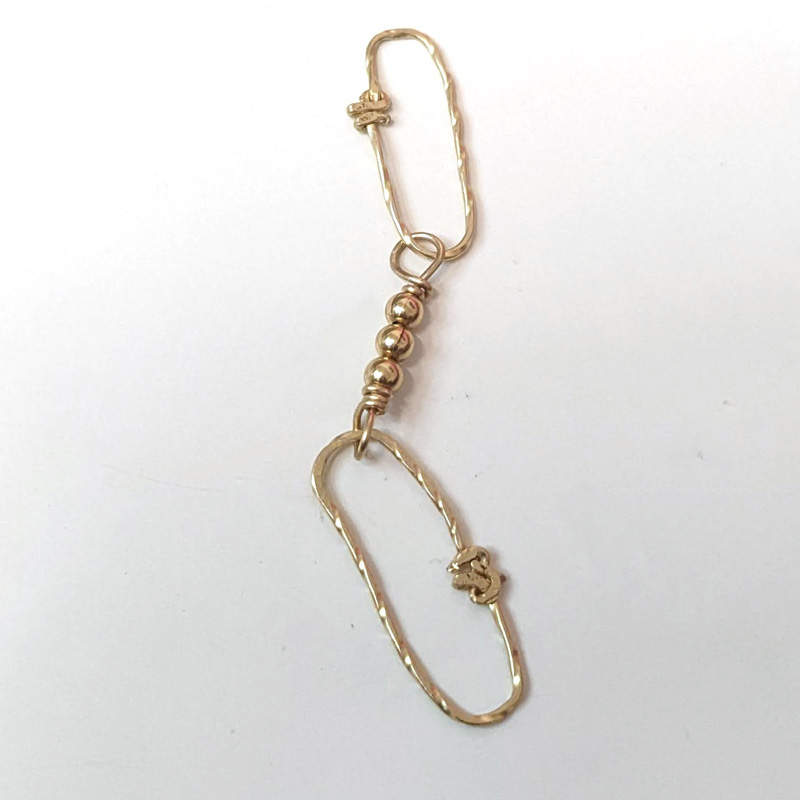
11. Continue until your bracelet is long enough and then add a clasp. This can connect to your final chain link, or add a jump ring as a connector.
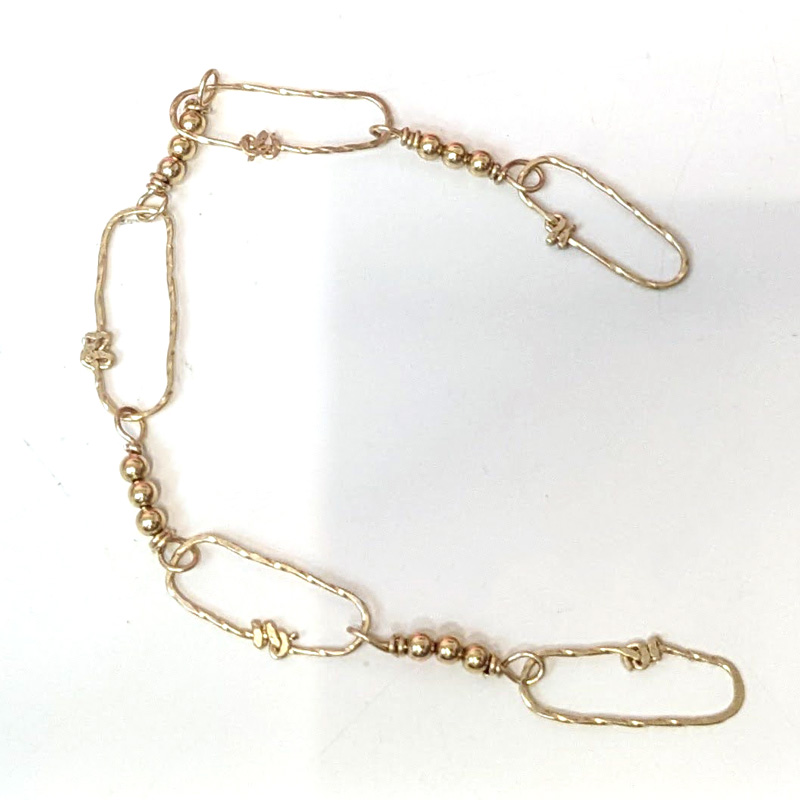
Your DIY chain bracelets are complete! I hope you’re proud to wear it out and about and get many years of use from this gorgeous, unique paperclip chain bracelet!
